
1. Set up AWS S3 & Cloudfront distribution for hosting Mojito
We set up S3 and Cloudfront first so we can assign users with limited access to publish conatiners.
Create a public S3 Bucket
A public S3 bucket is useful for preview/staging purposes and simplifying permissions (they’ll be public through Cloudfront anyway).
-
Login to AWS and open your S3 console.
-
Hit the big blue
Create bucketbutton
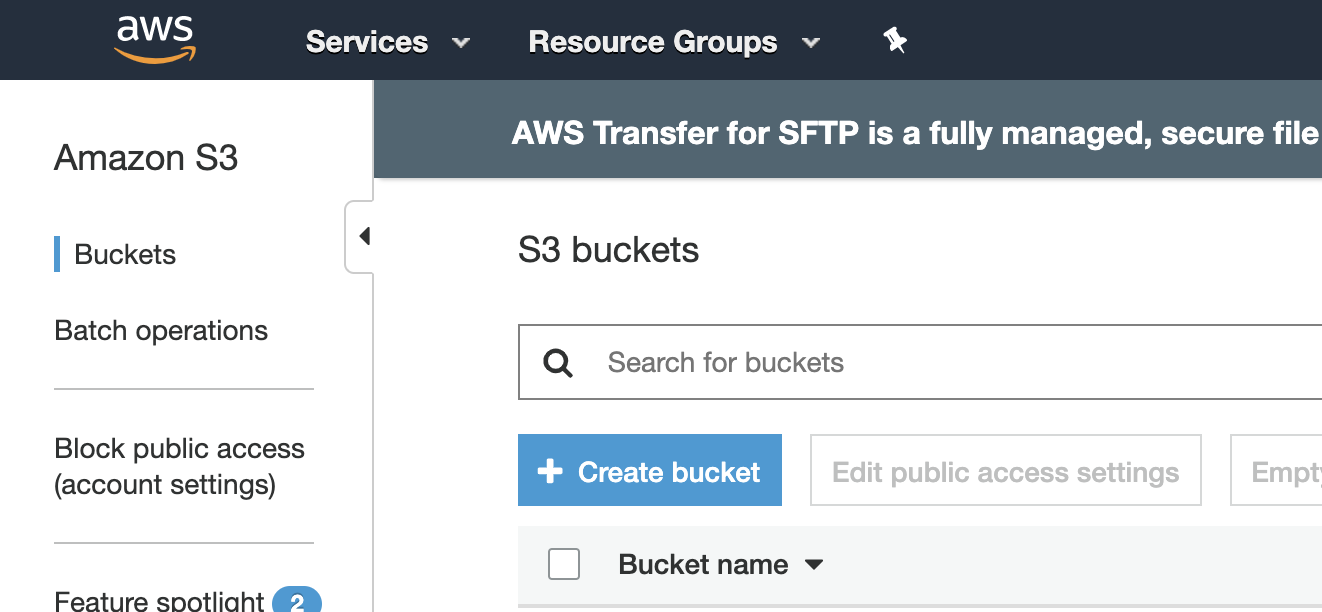
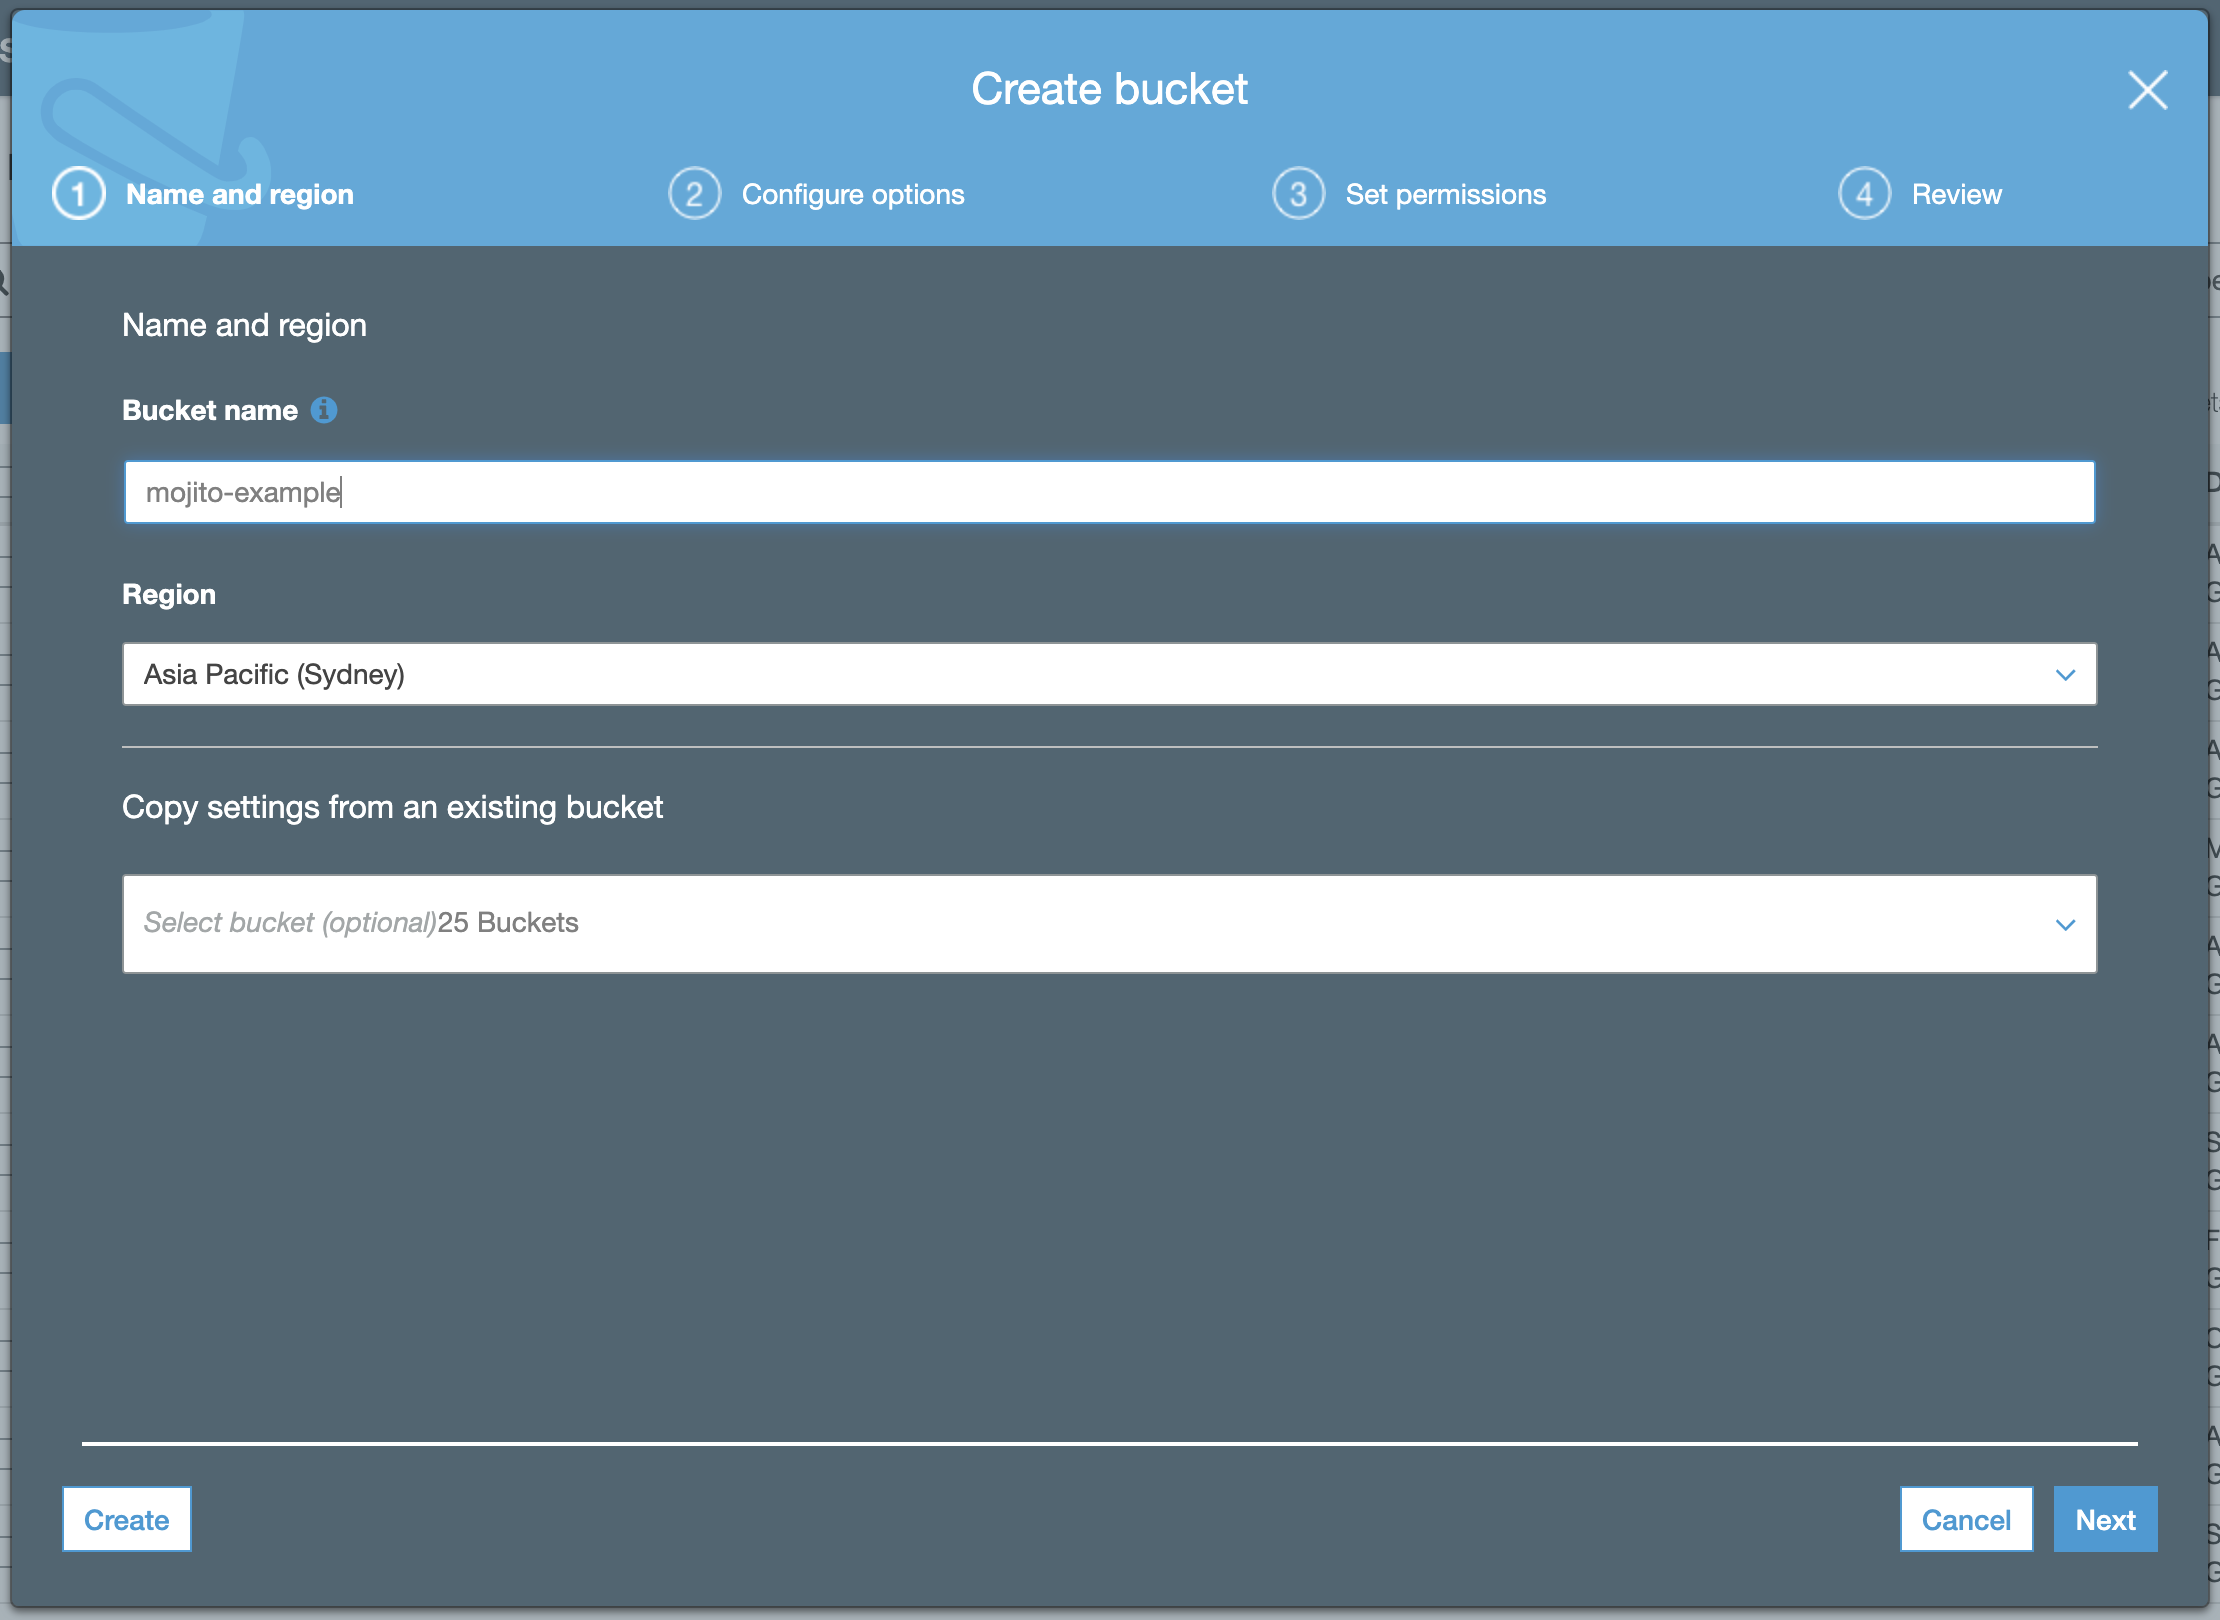
- Give your container a descriptive name and hit
Next:
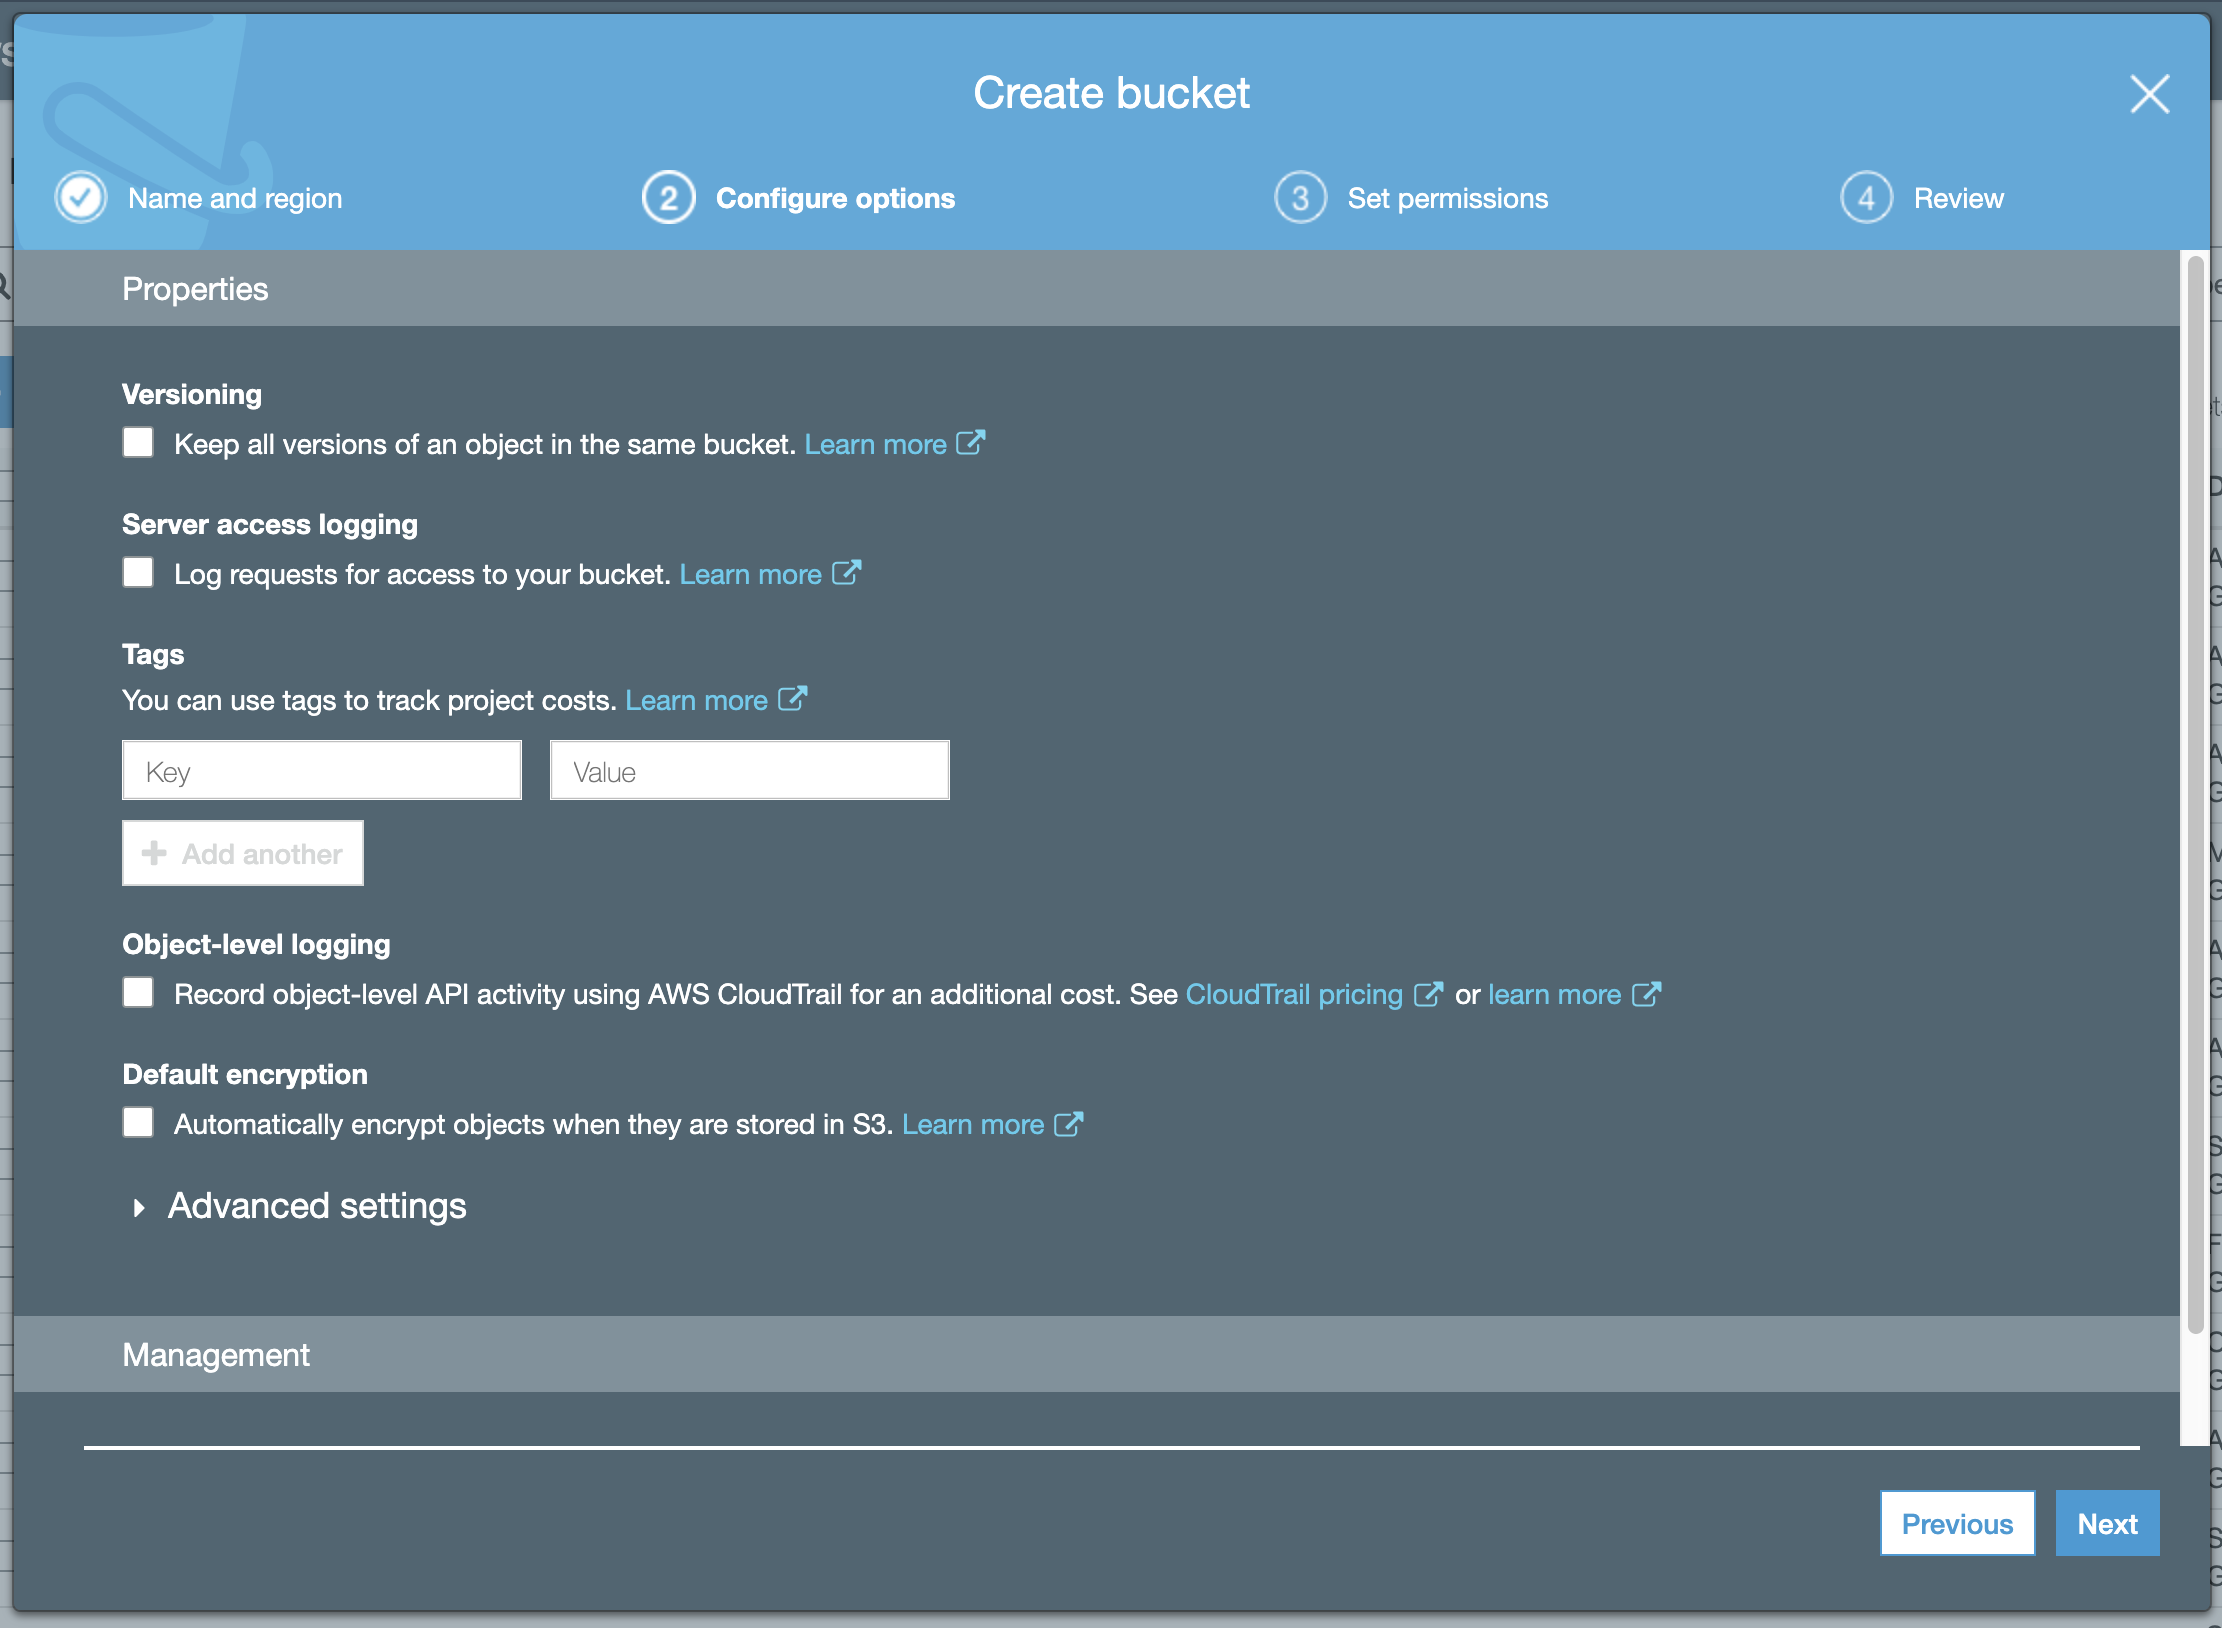
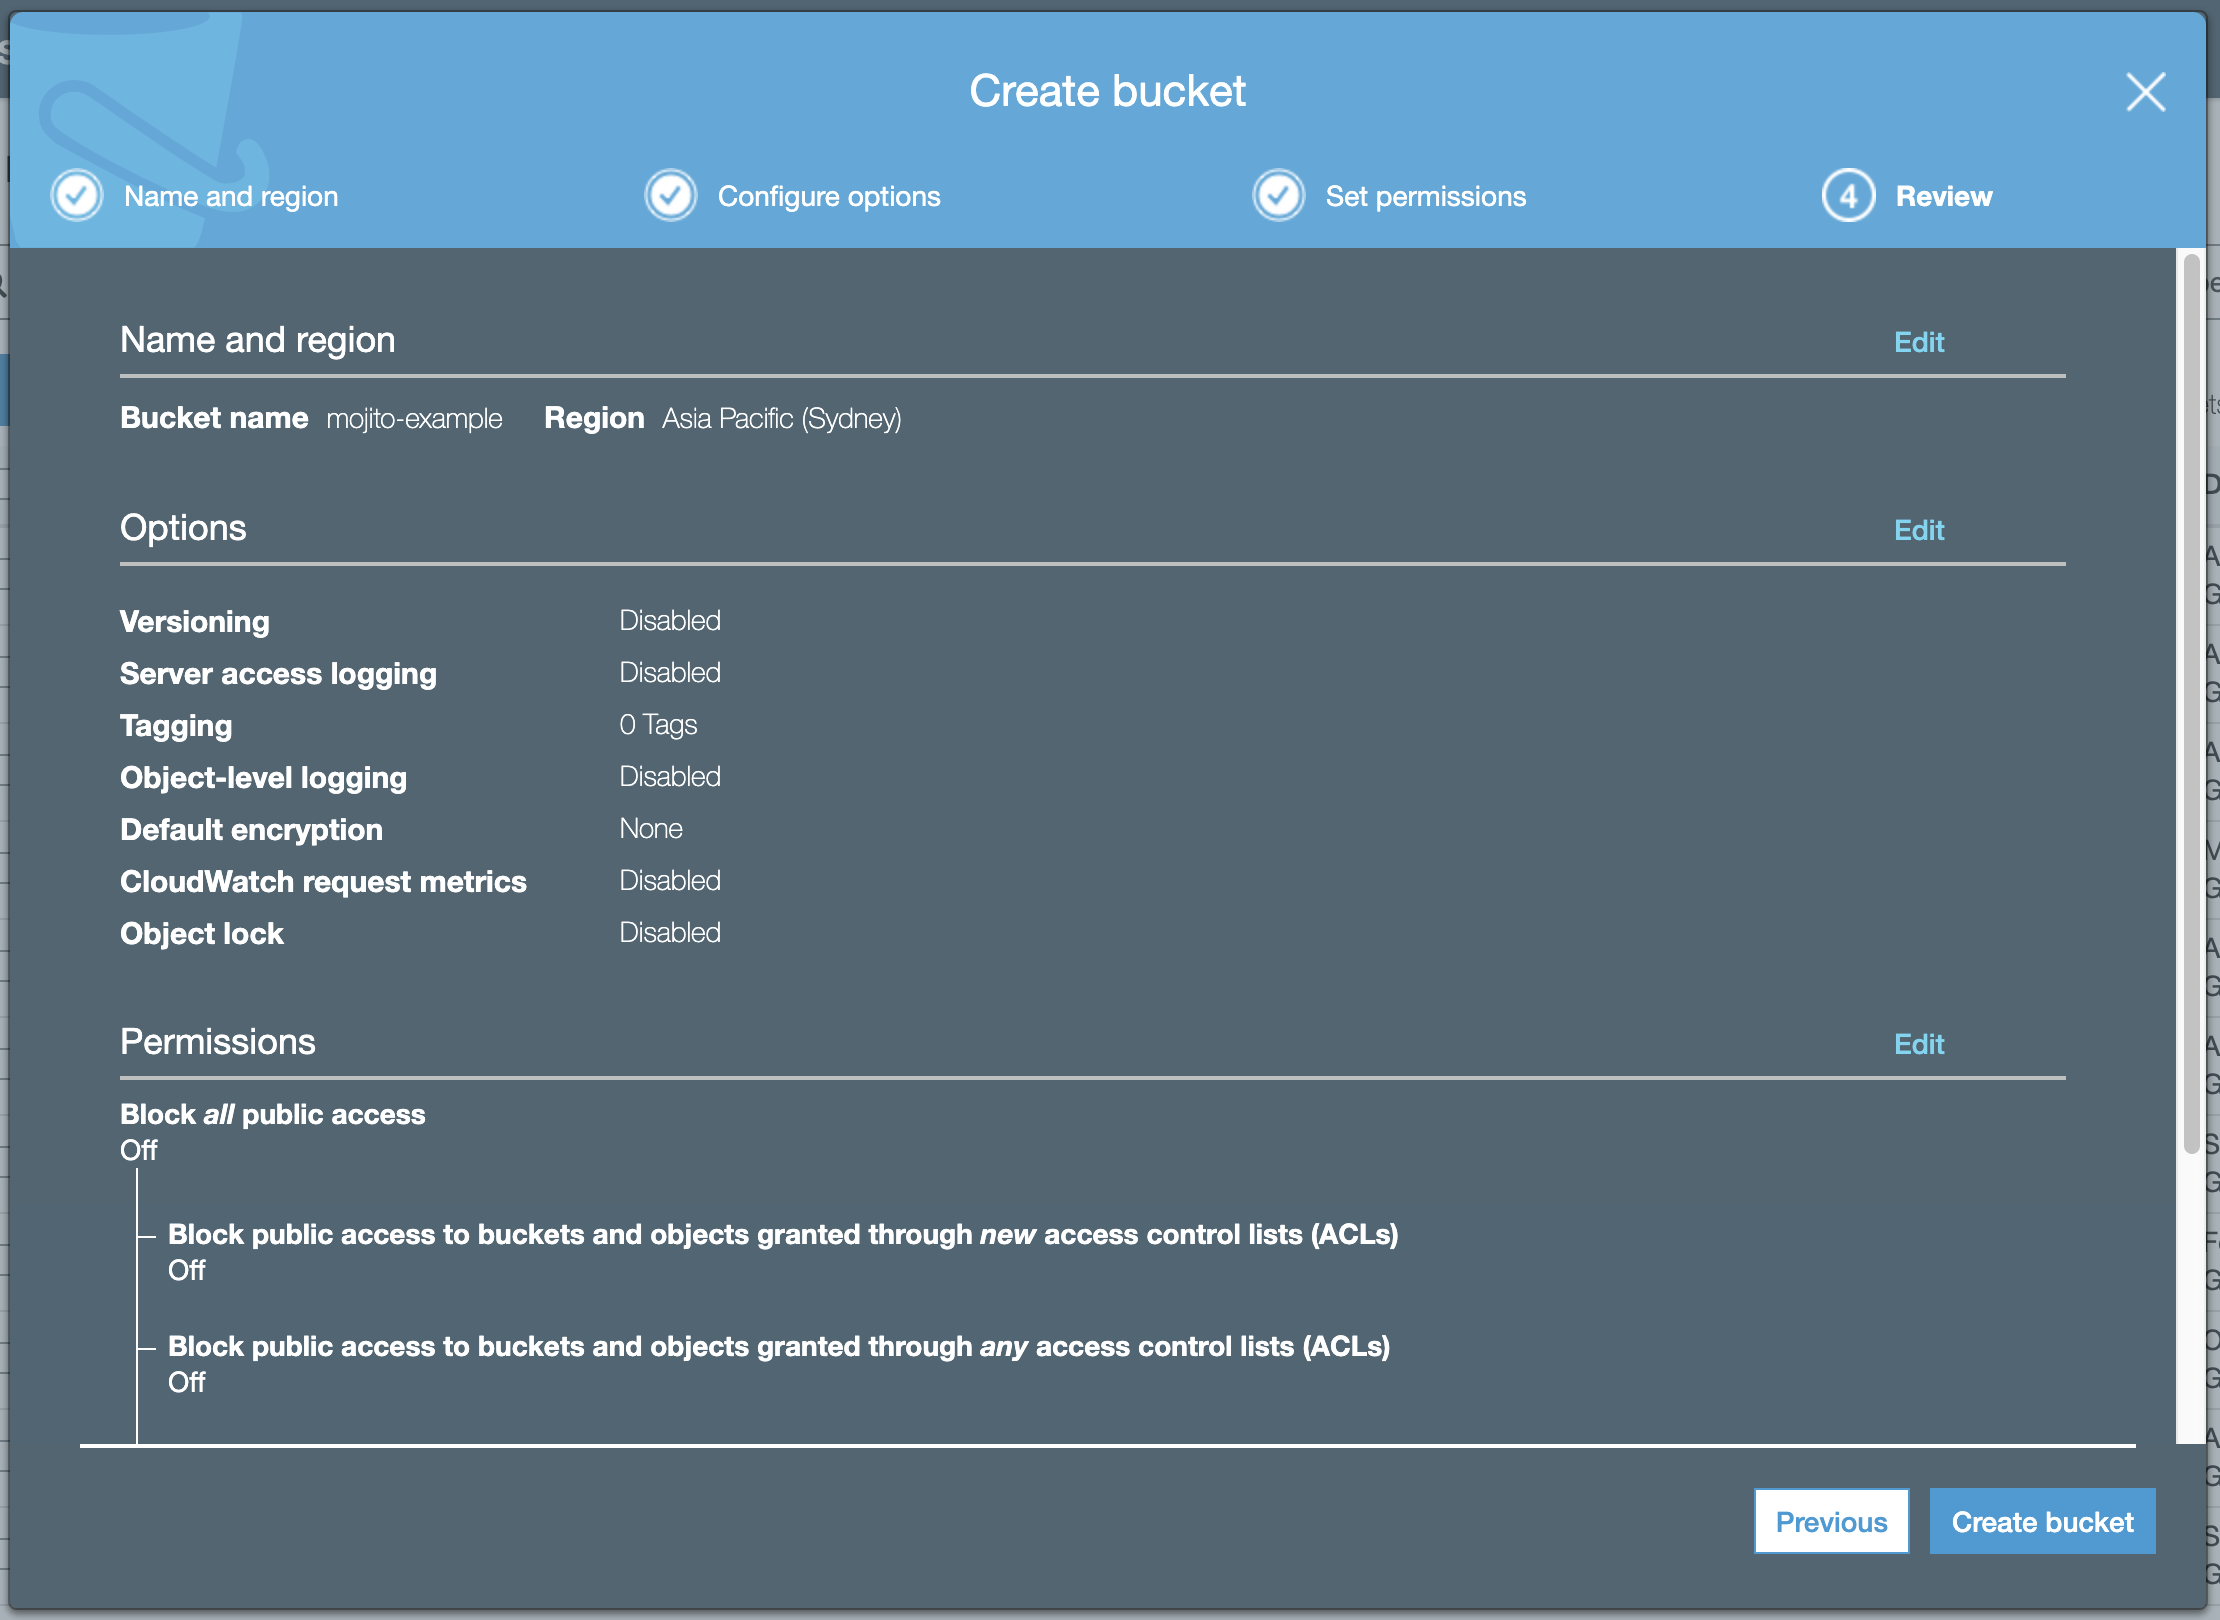
- Keep the default options (versioning is useless when Mojito JS is source-controlled):
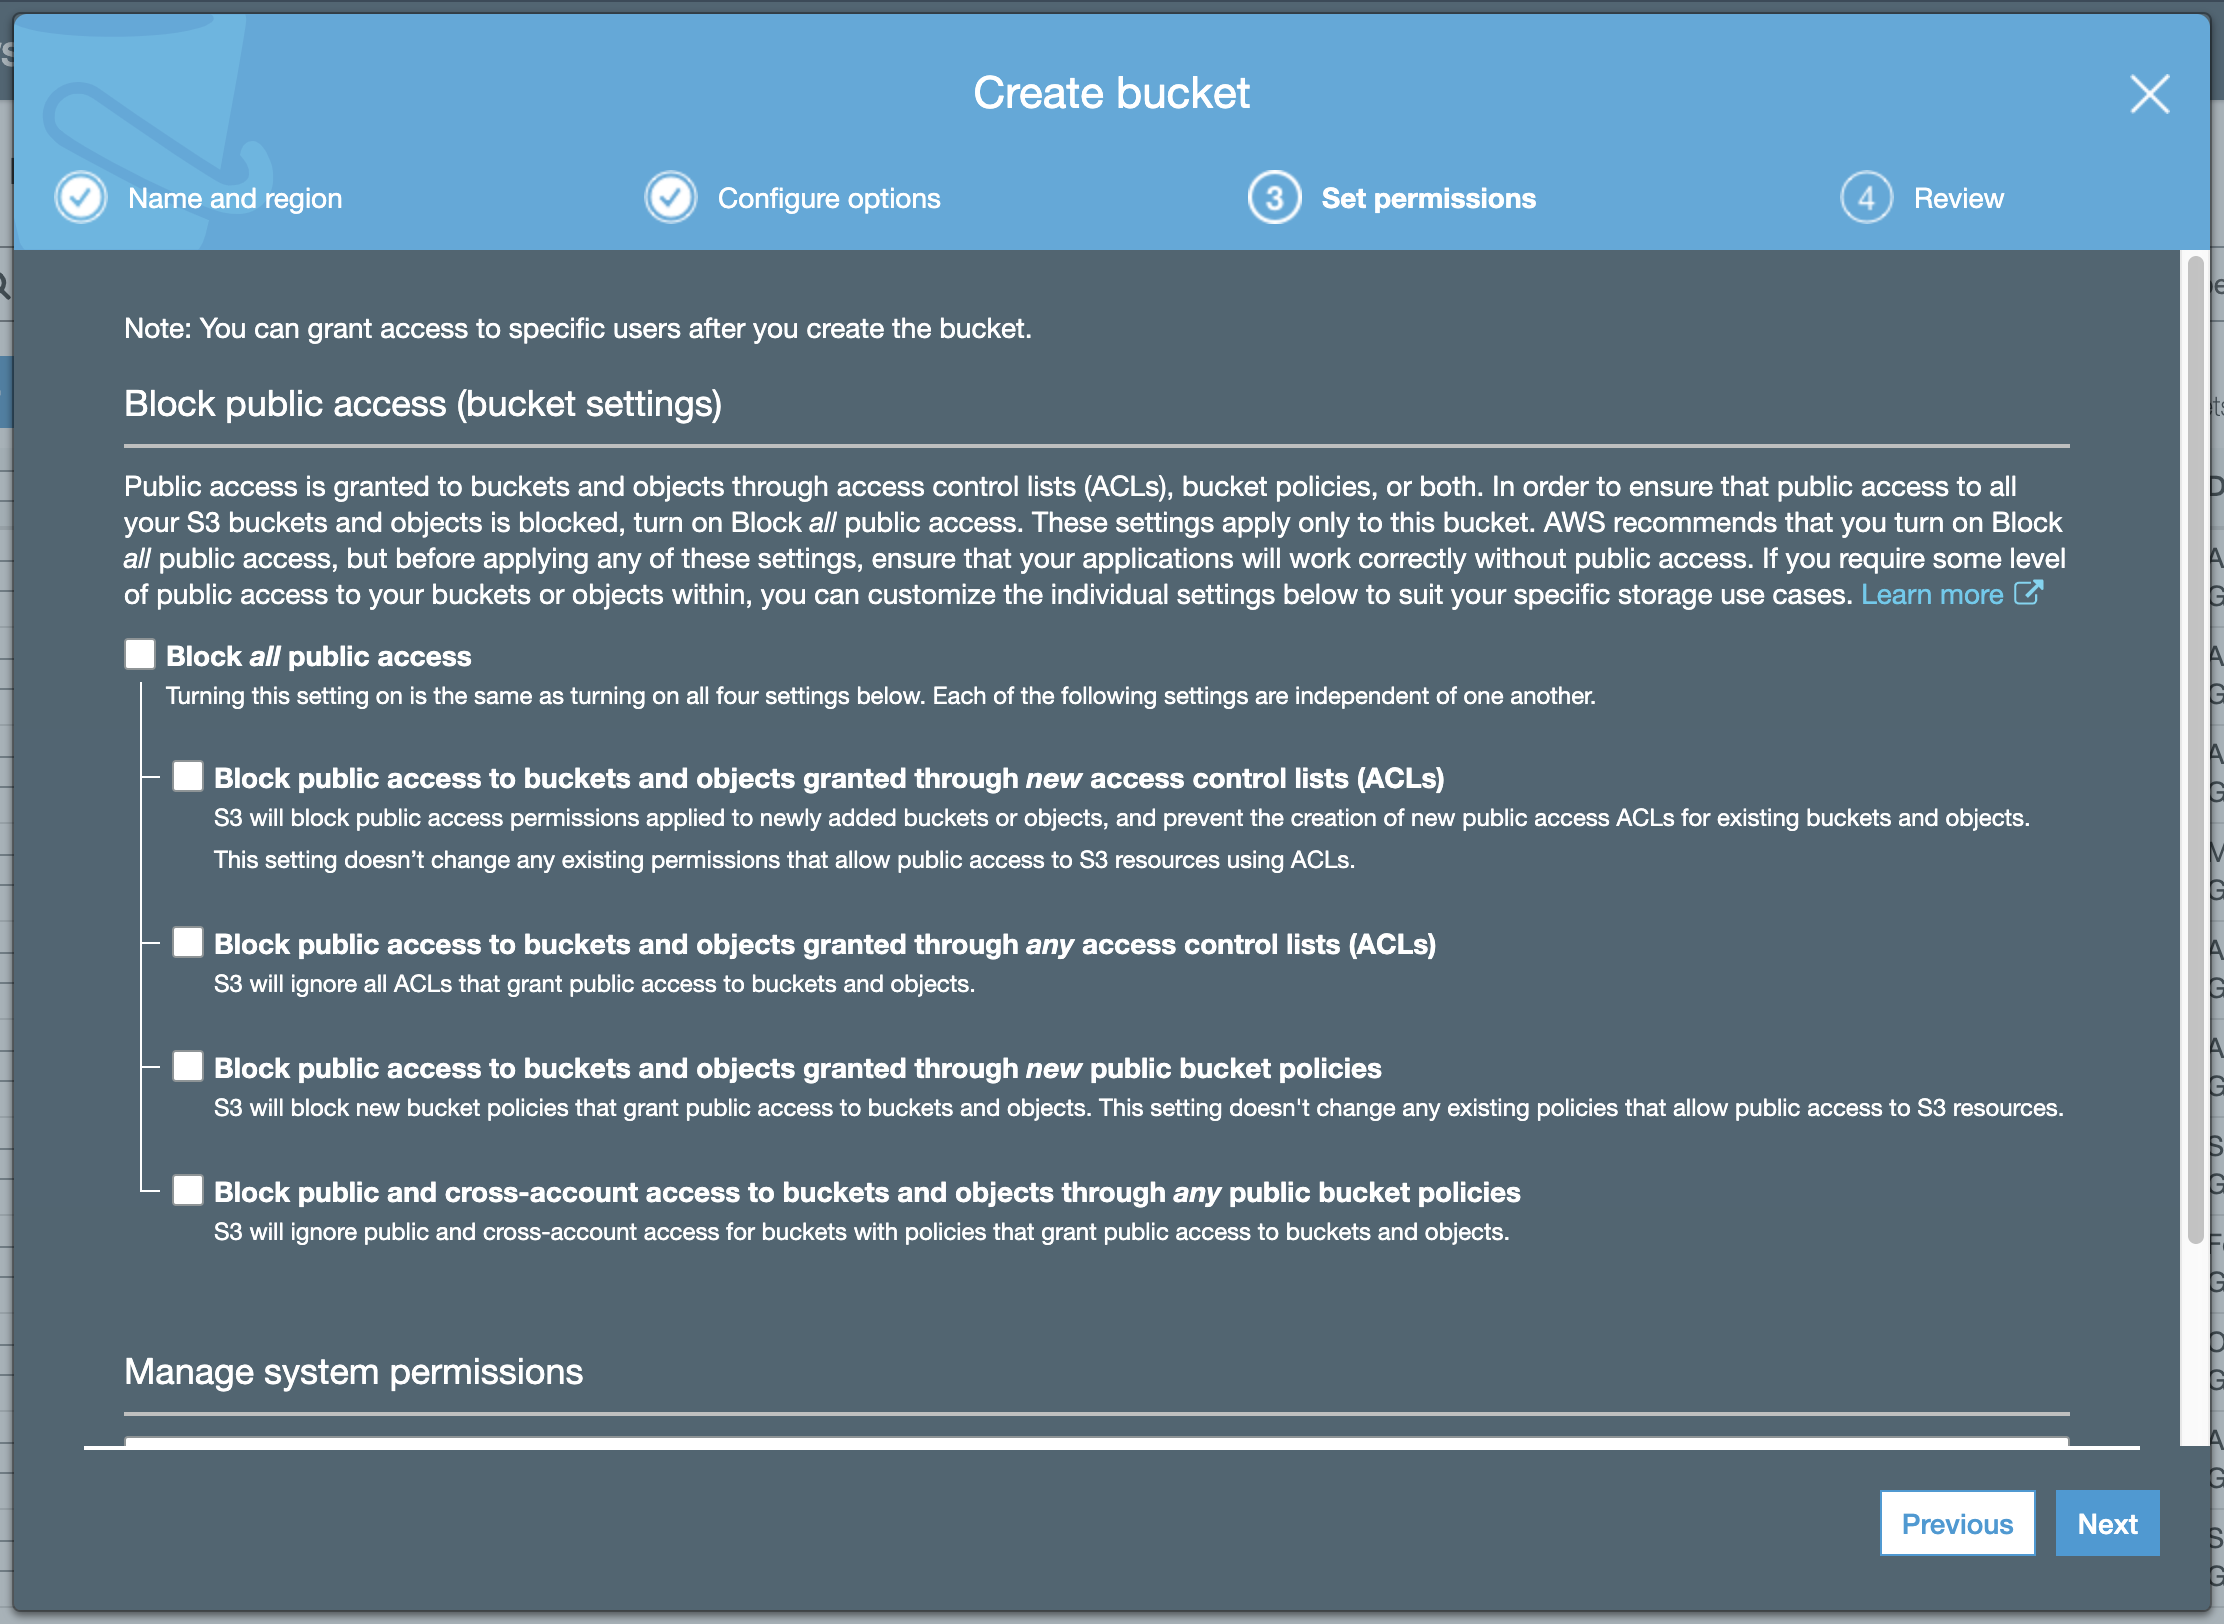
- Disable blocking of public access. Again, this simplifies permissions and your bucket contents will be available through Cloudfront anyway.
- Review your settings and hit
Create bucket:
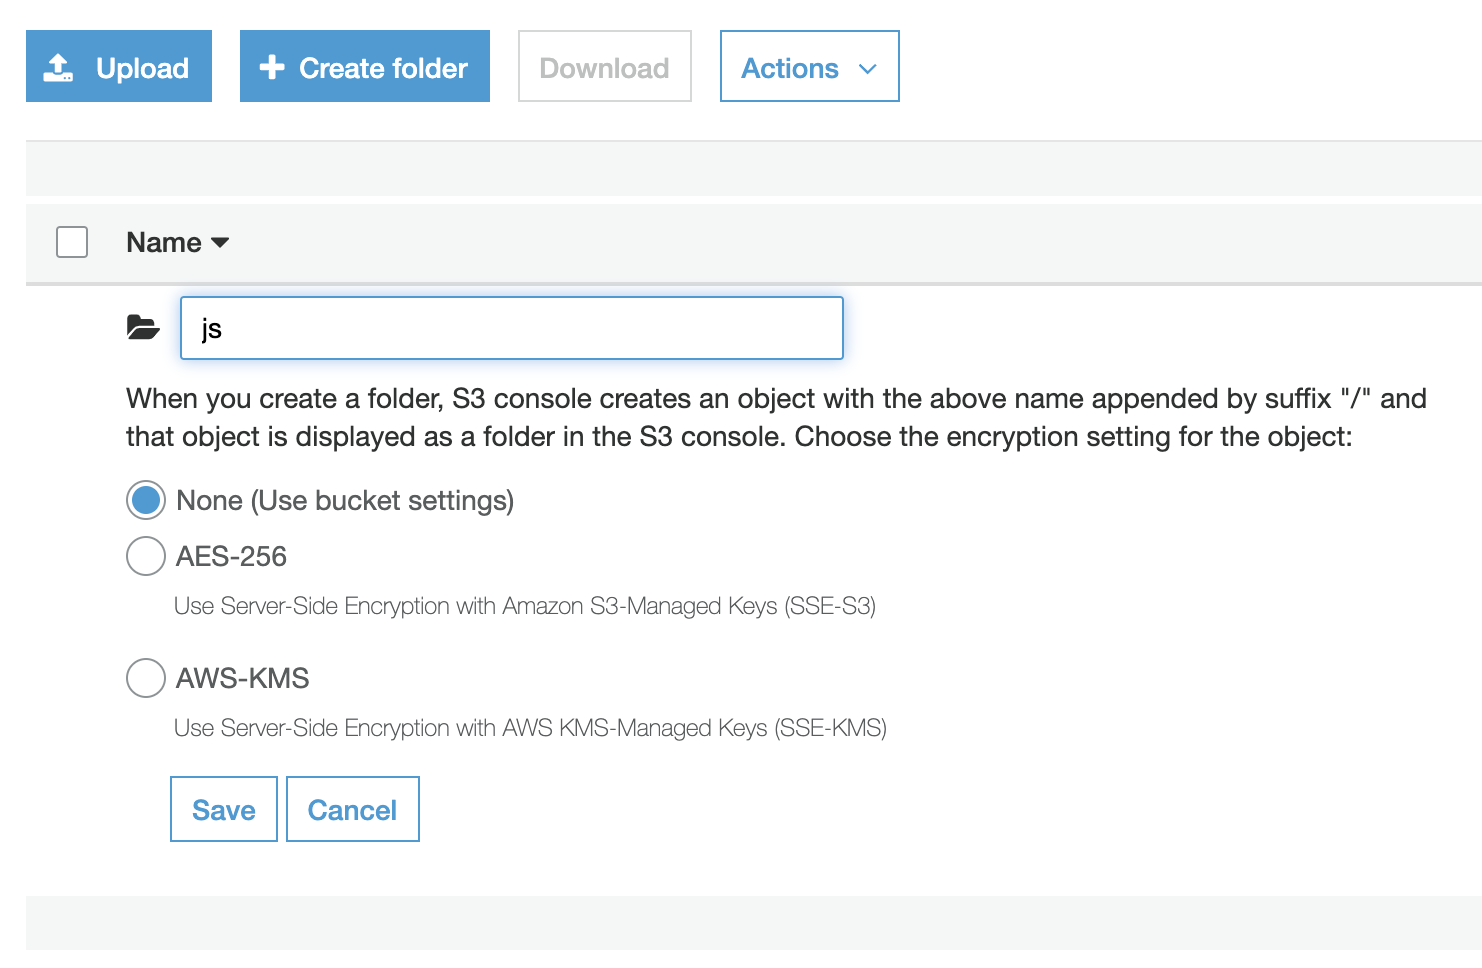
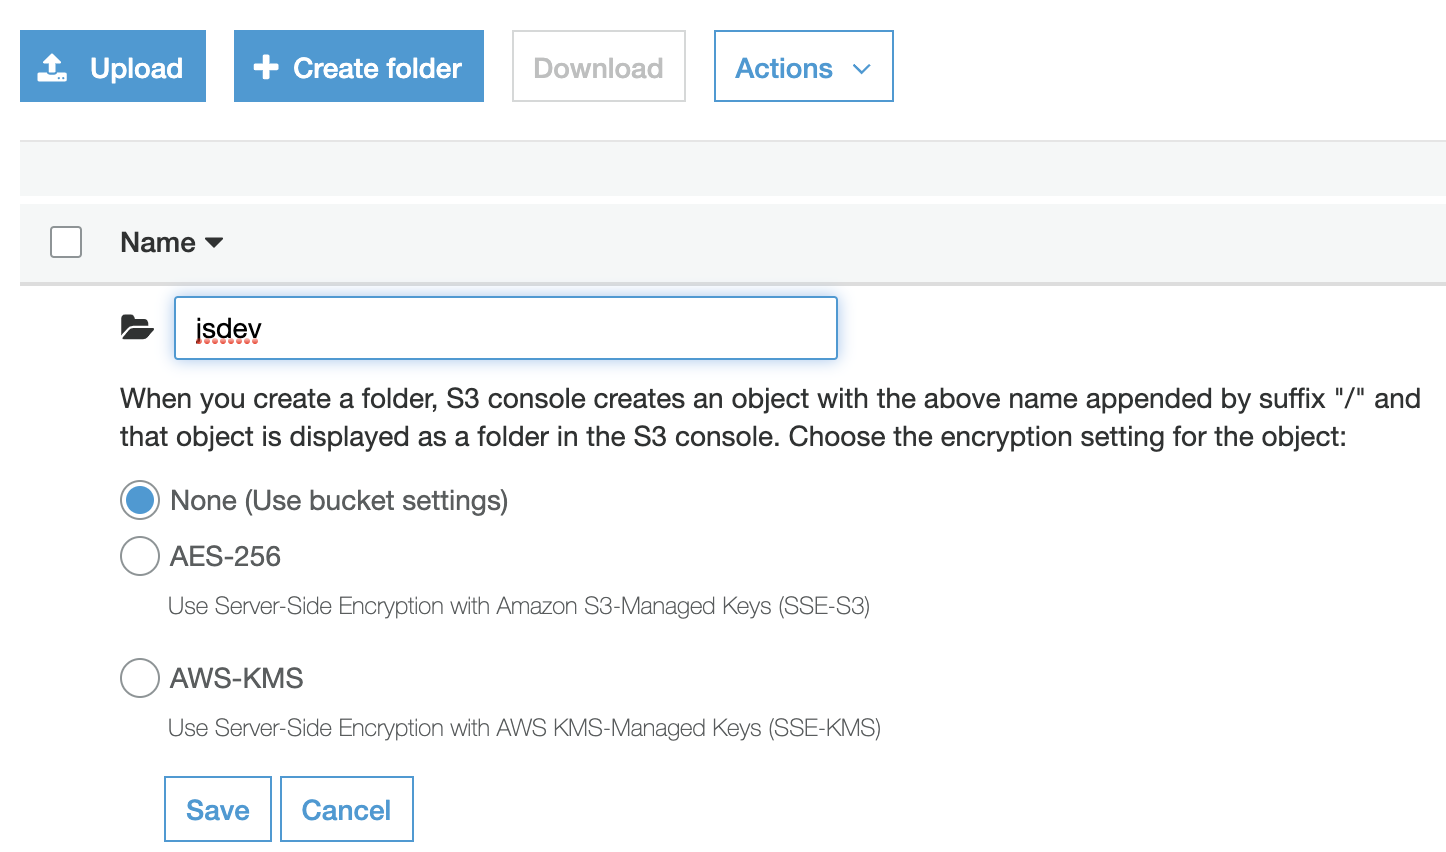
Add folders for your Mojito JS environments
We suggest creating folders for development and production use:
js(production)jsdev(development)
You’ll need to add these keys to your Mojito JS repo/config.js file, like so:
module.exports = {
	containerName: "containerfilename",
	s3BucketDev: "mojito-example/jsdev",
	s3BucketPRD: "mojito-example/js",
	s3Region: "ap-southeast-2"
};
Read more about the npm scripts.
Create a Cloudfront distribution from your S3 bucket
Now we’ll setup a CDN to serve your container lightning-quick from anywhere in the world.
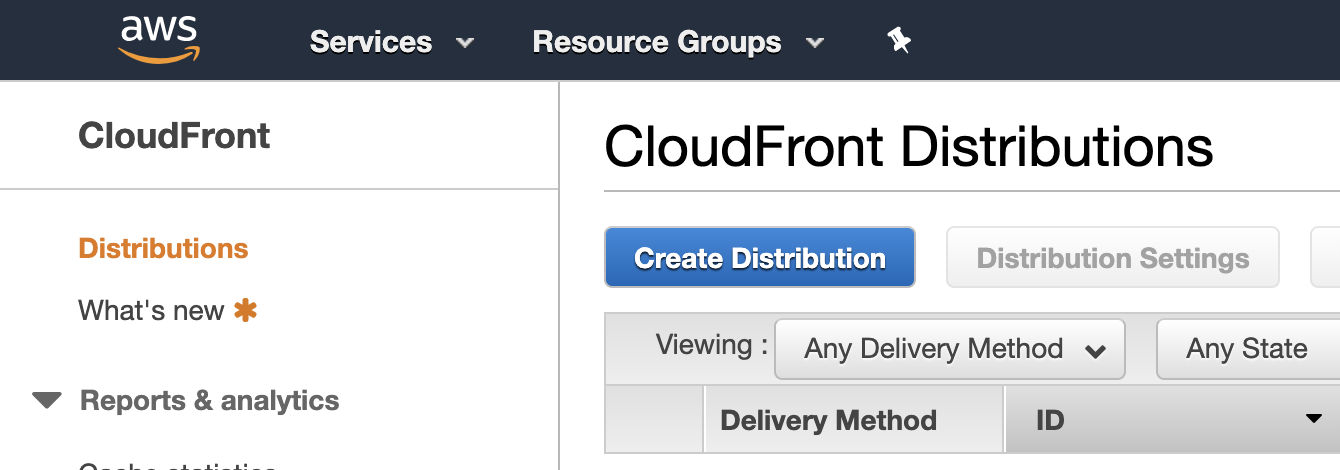
- Open your Cloudfront console in AWS and hit the big blue
Create Distributionbutton.
- Hit
Get Startedunder the “Web” delivery method:
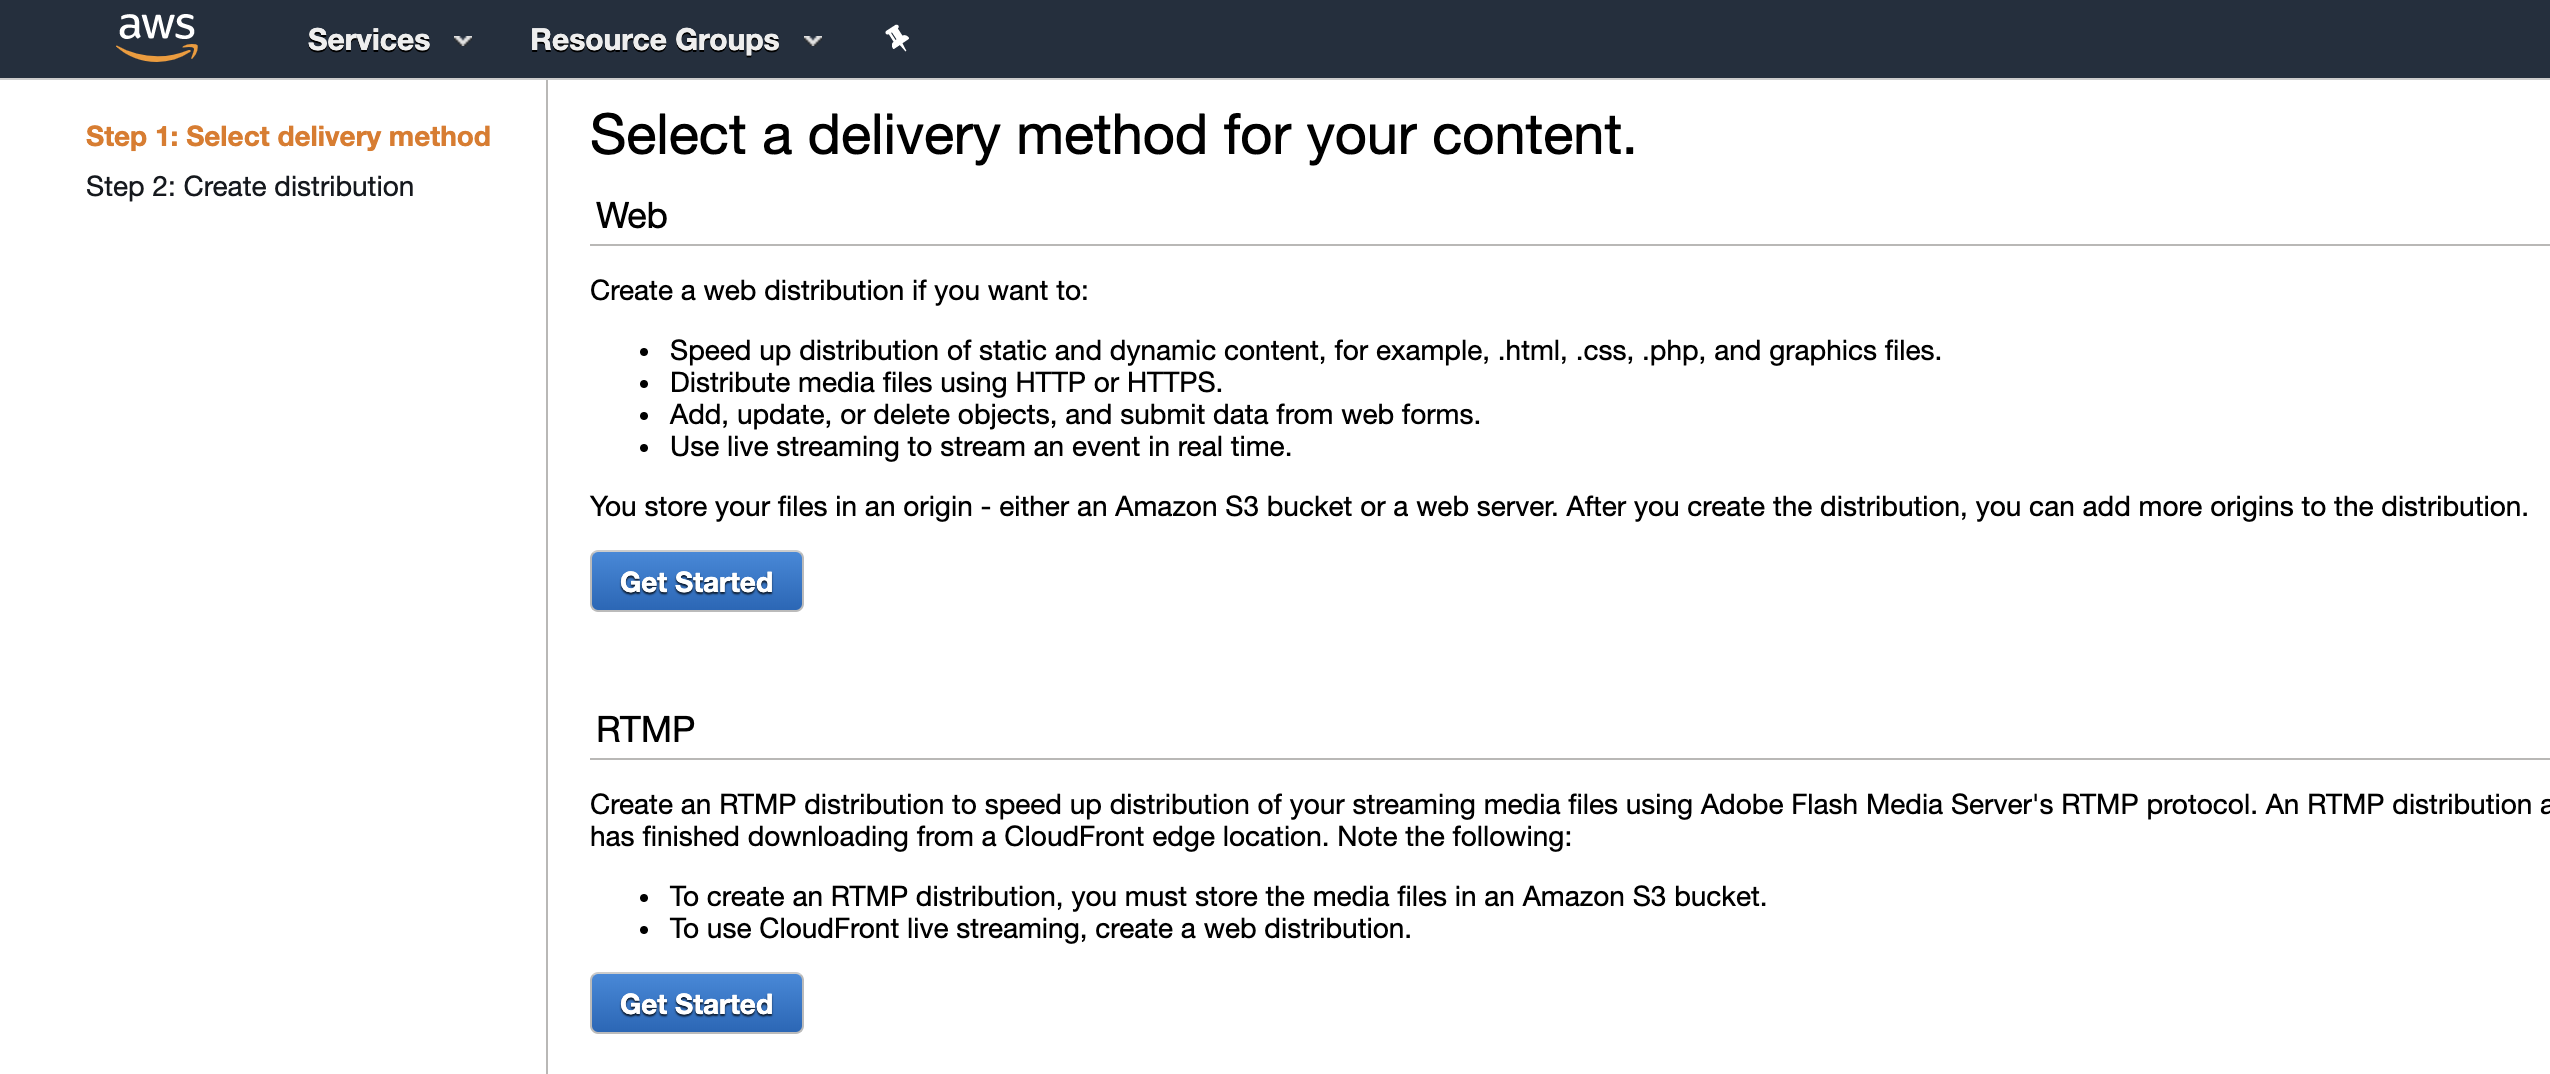
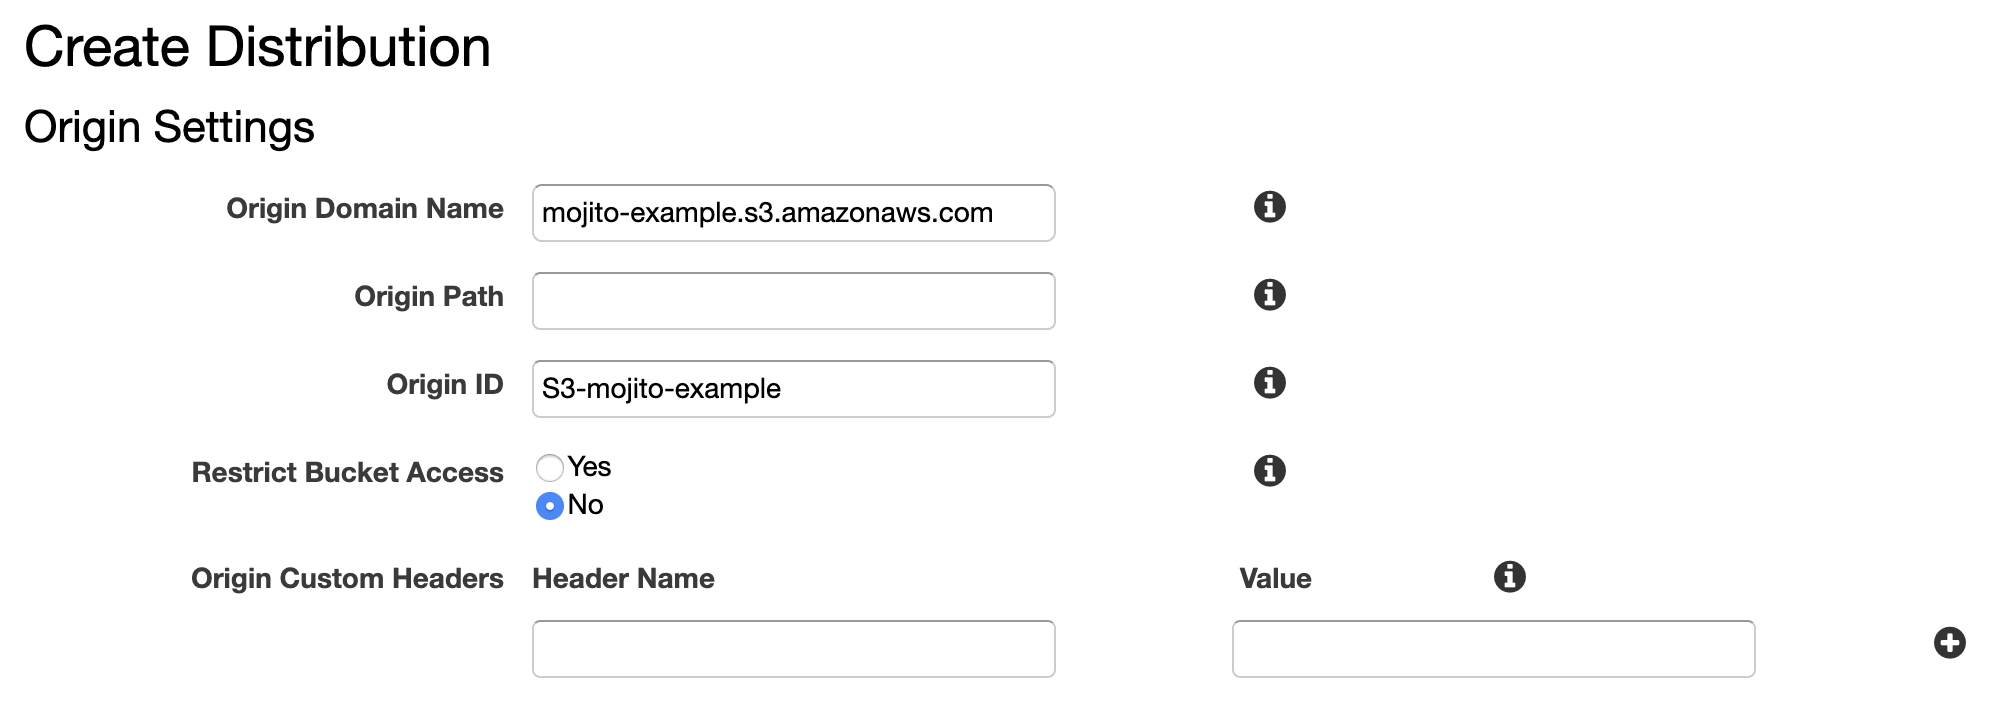
- Using your newly created S3 bucket, point the
Origin Domain Nameat the S3 bucket (in this case,mojito-example):
- Most of the default settings should be fine to keep over the rest of the pages.
NB: You may be tempted to set TTL headers or compression, but it’s important to ensure:
Use Origin Cache Headersis enabledCompress objects automaticallyis set to diabled
We make these options configurable inside the npm publish script, instead.
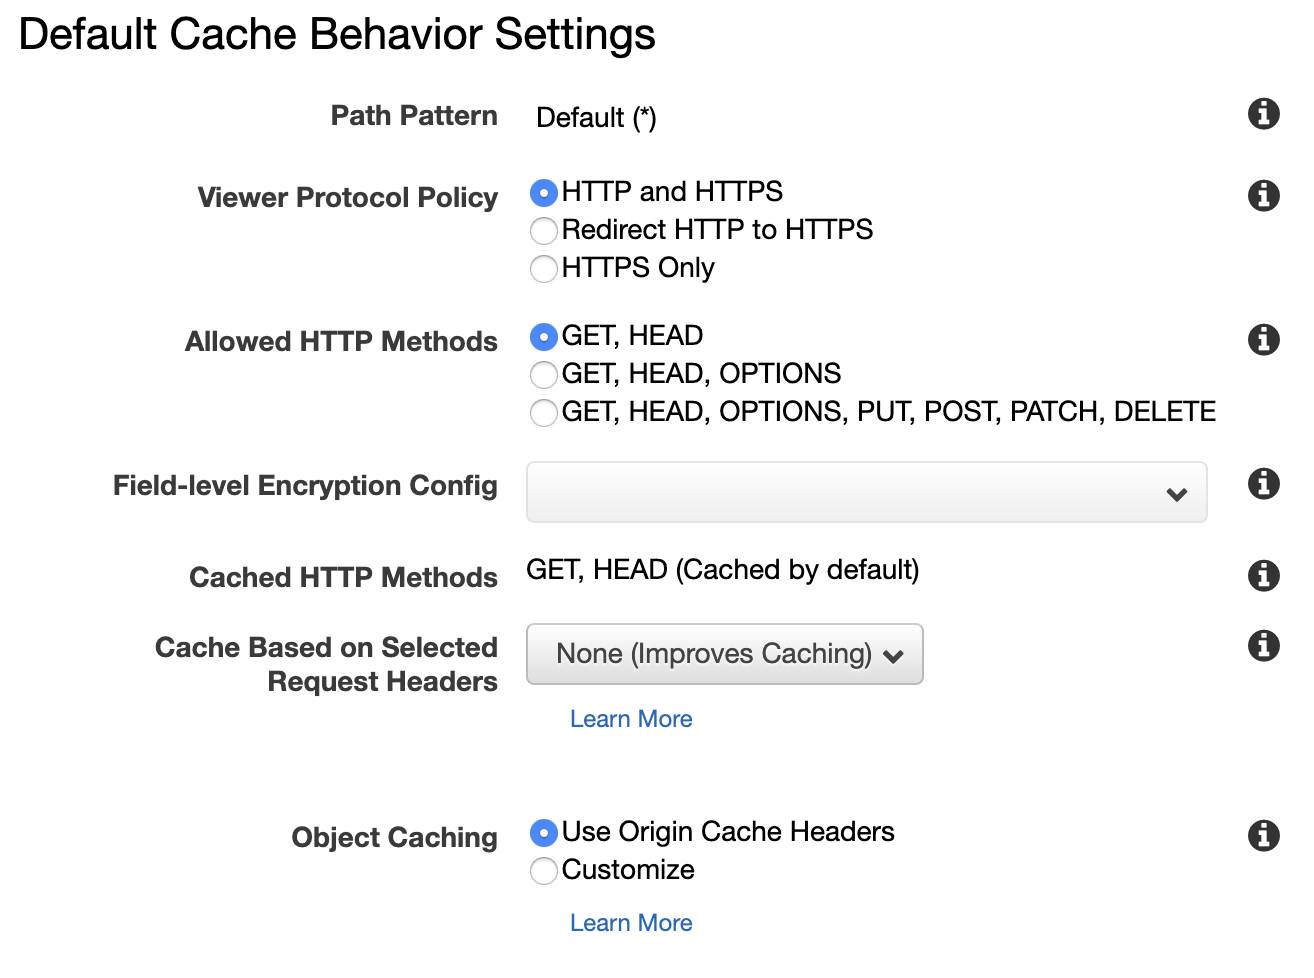
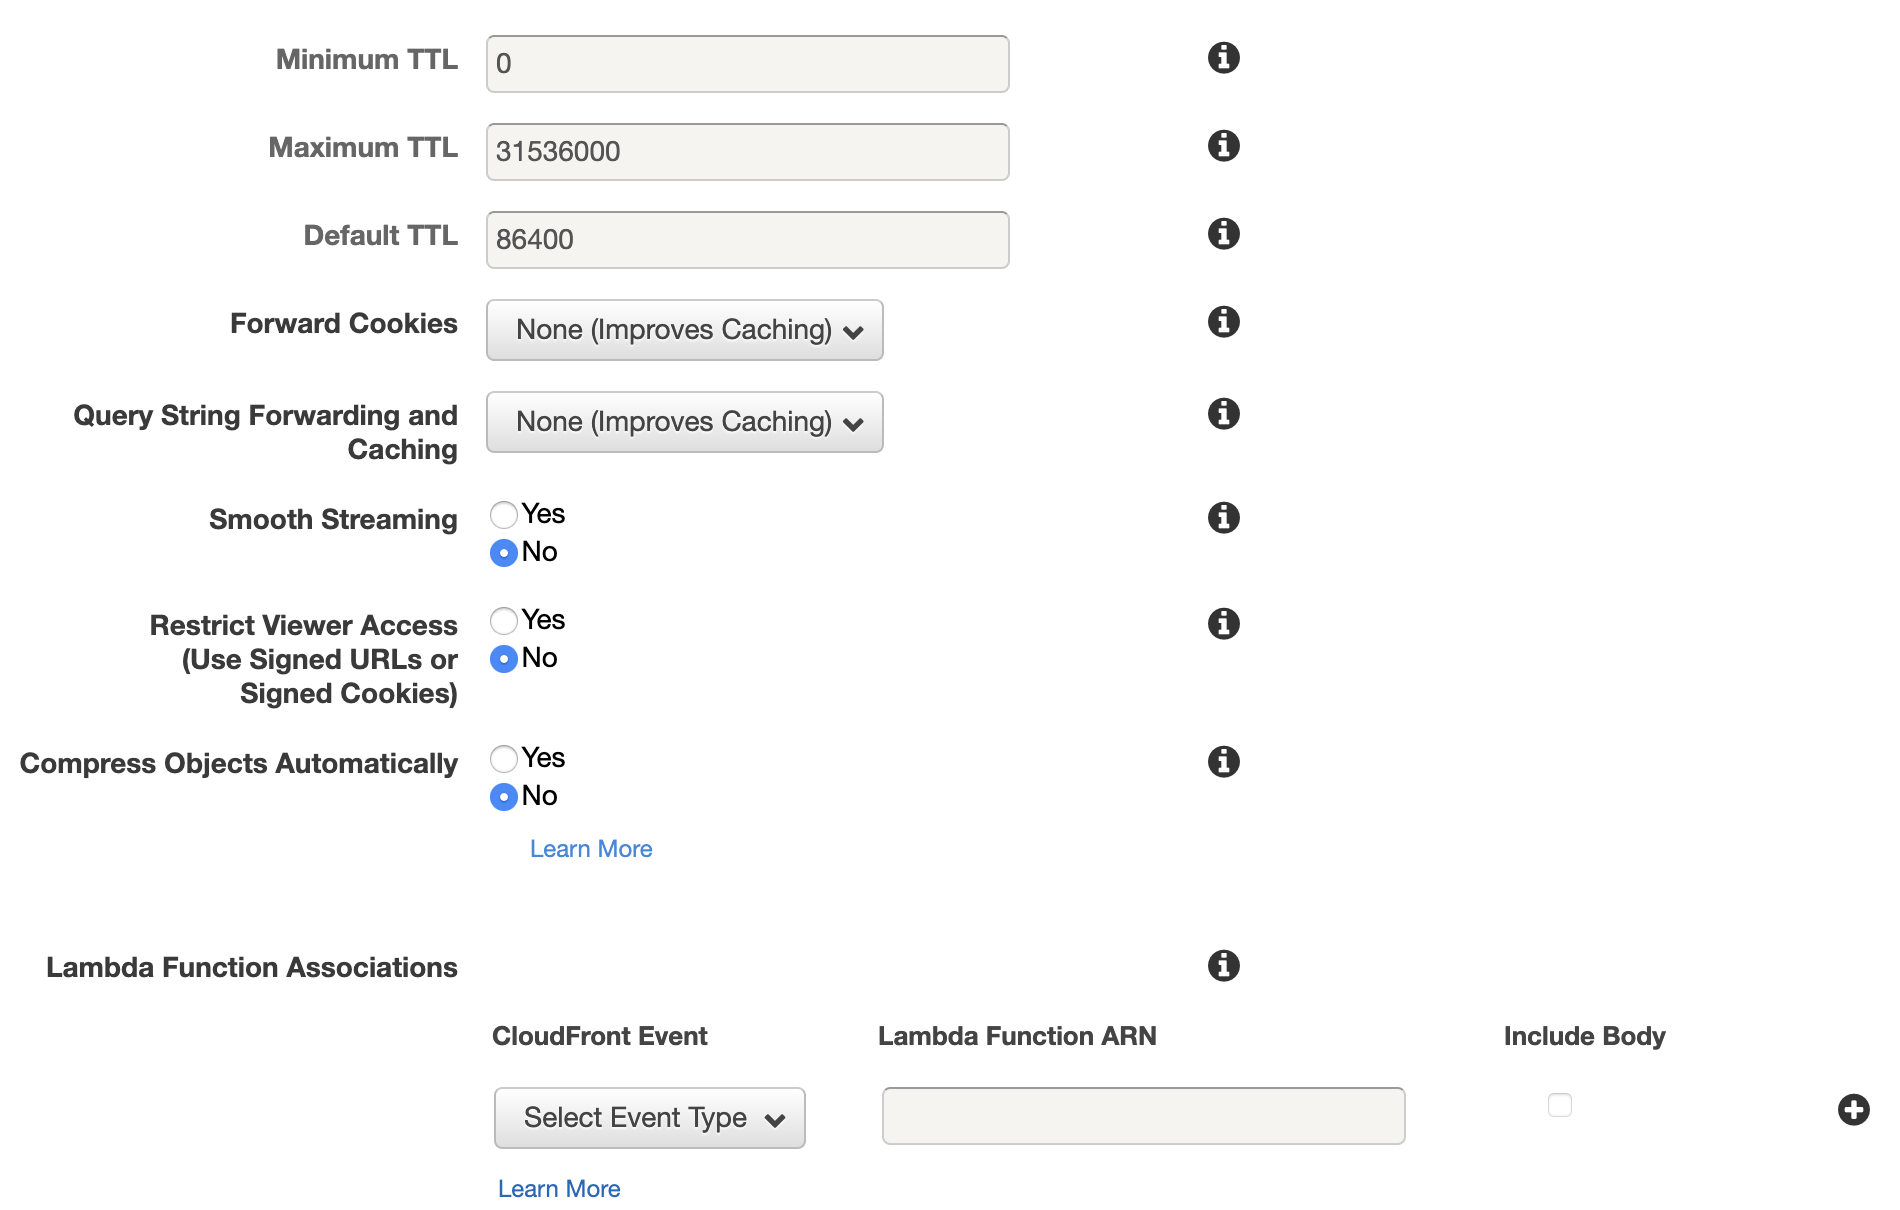
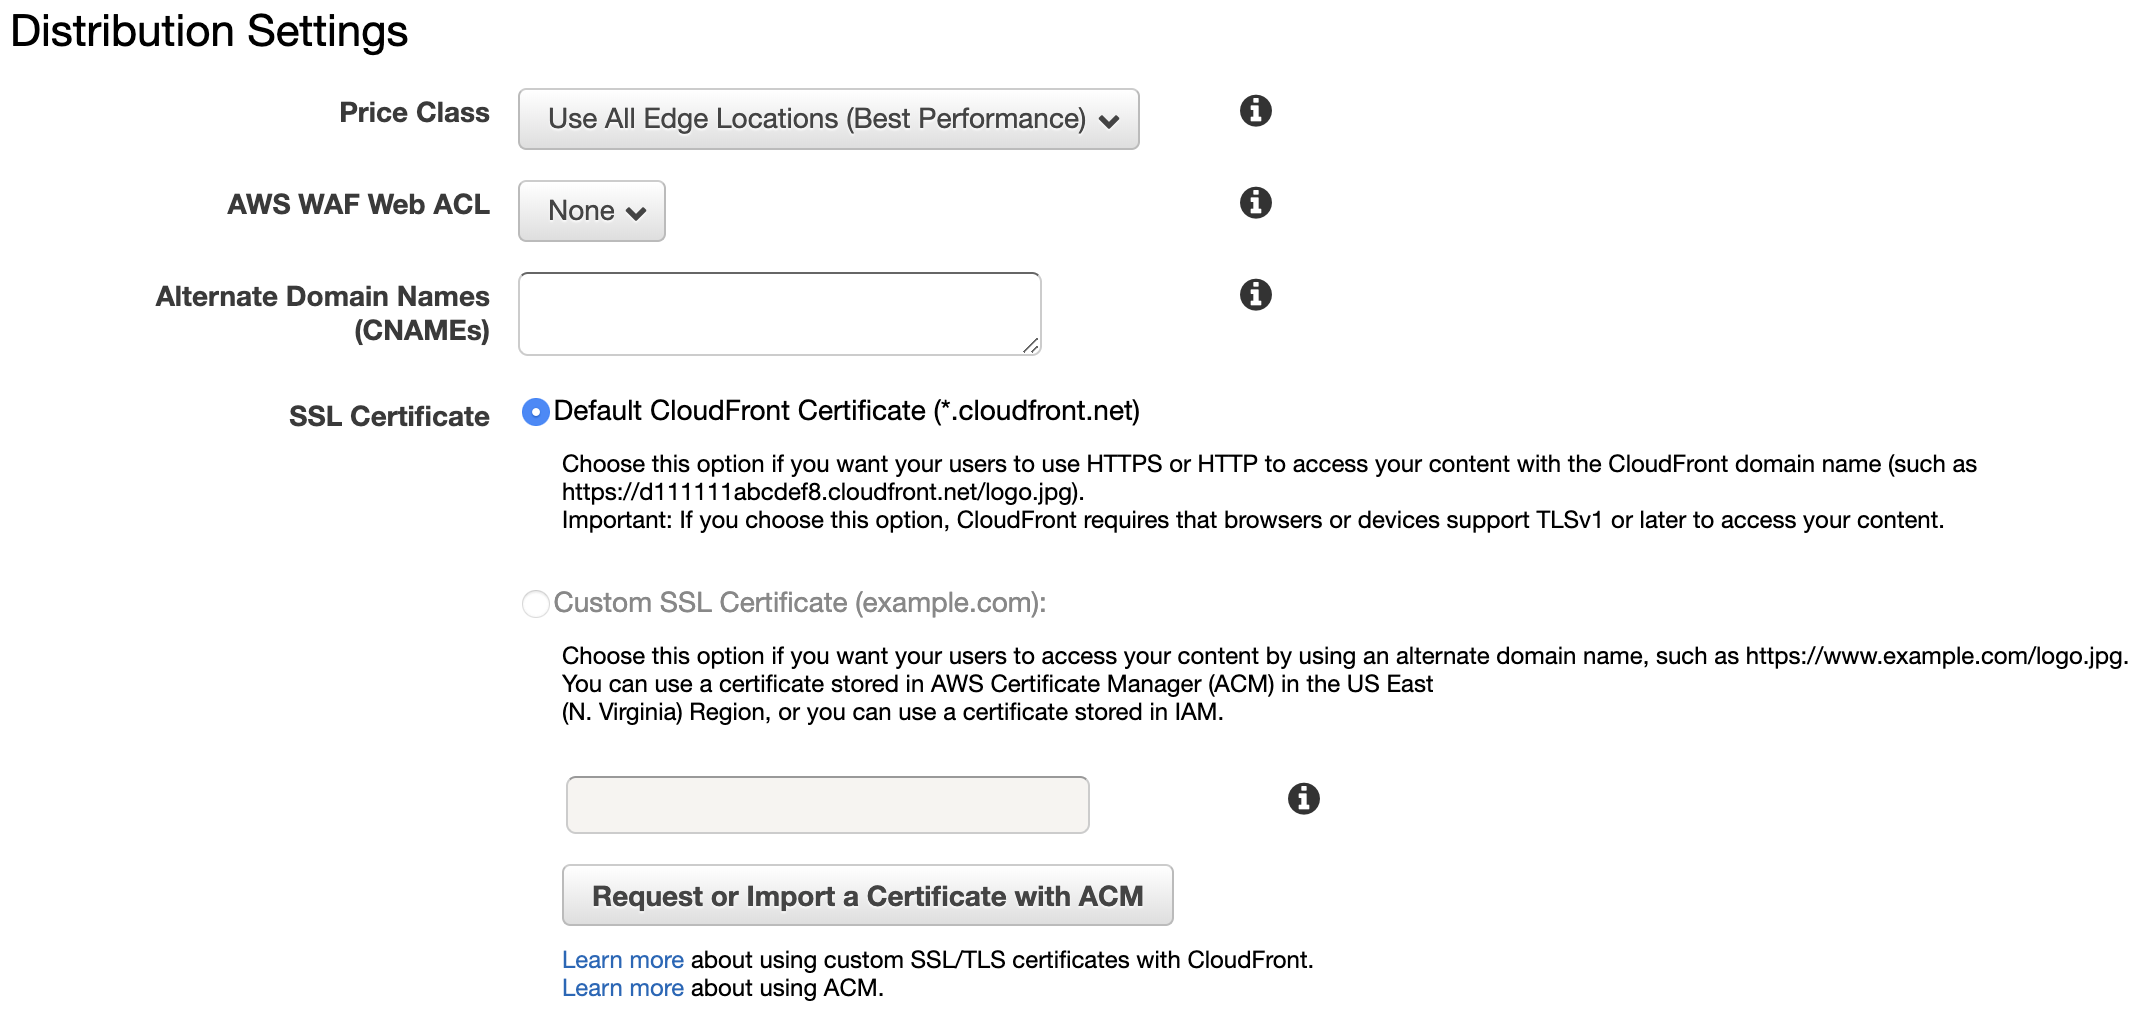
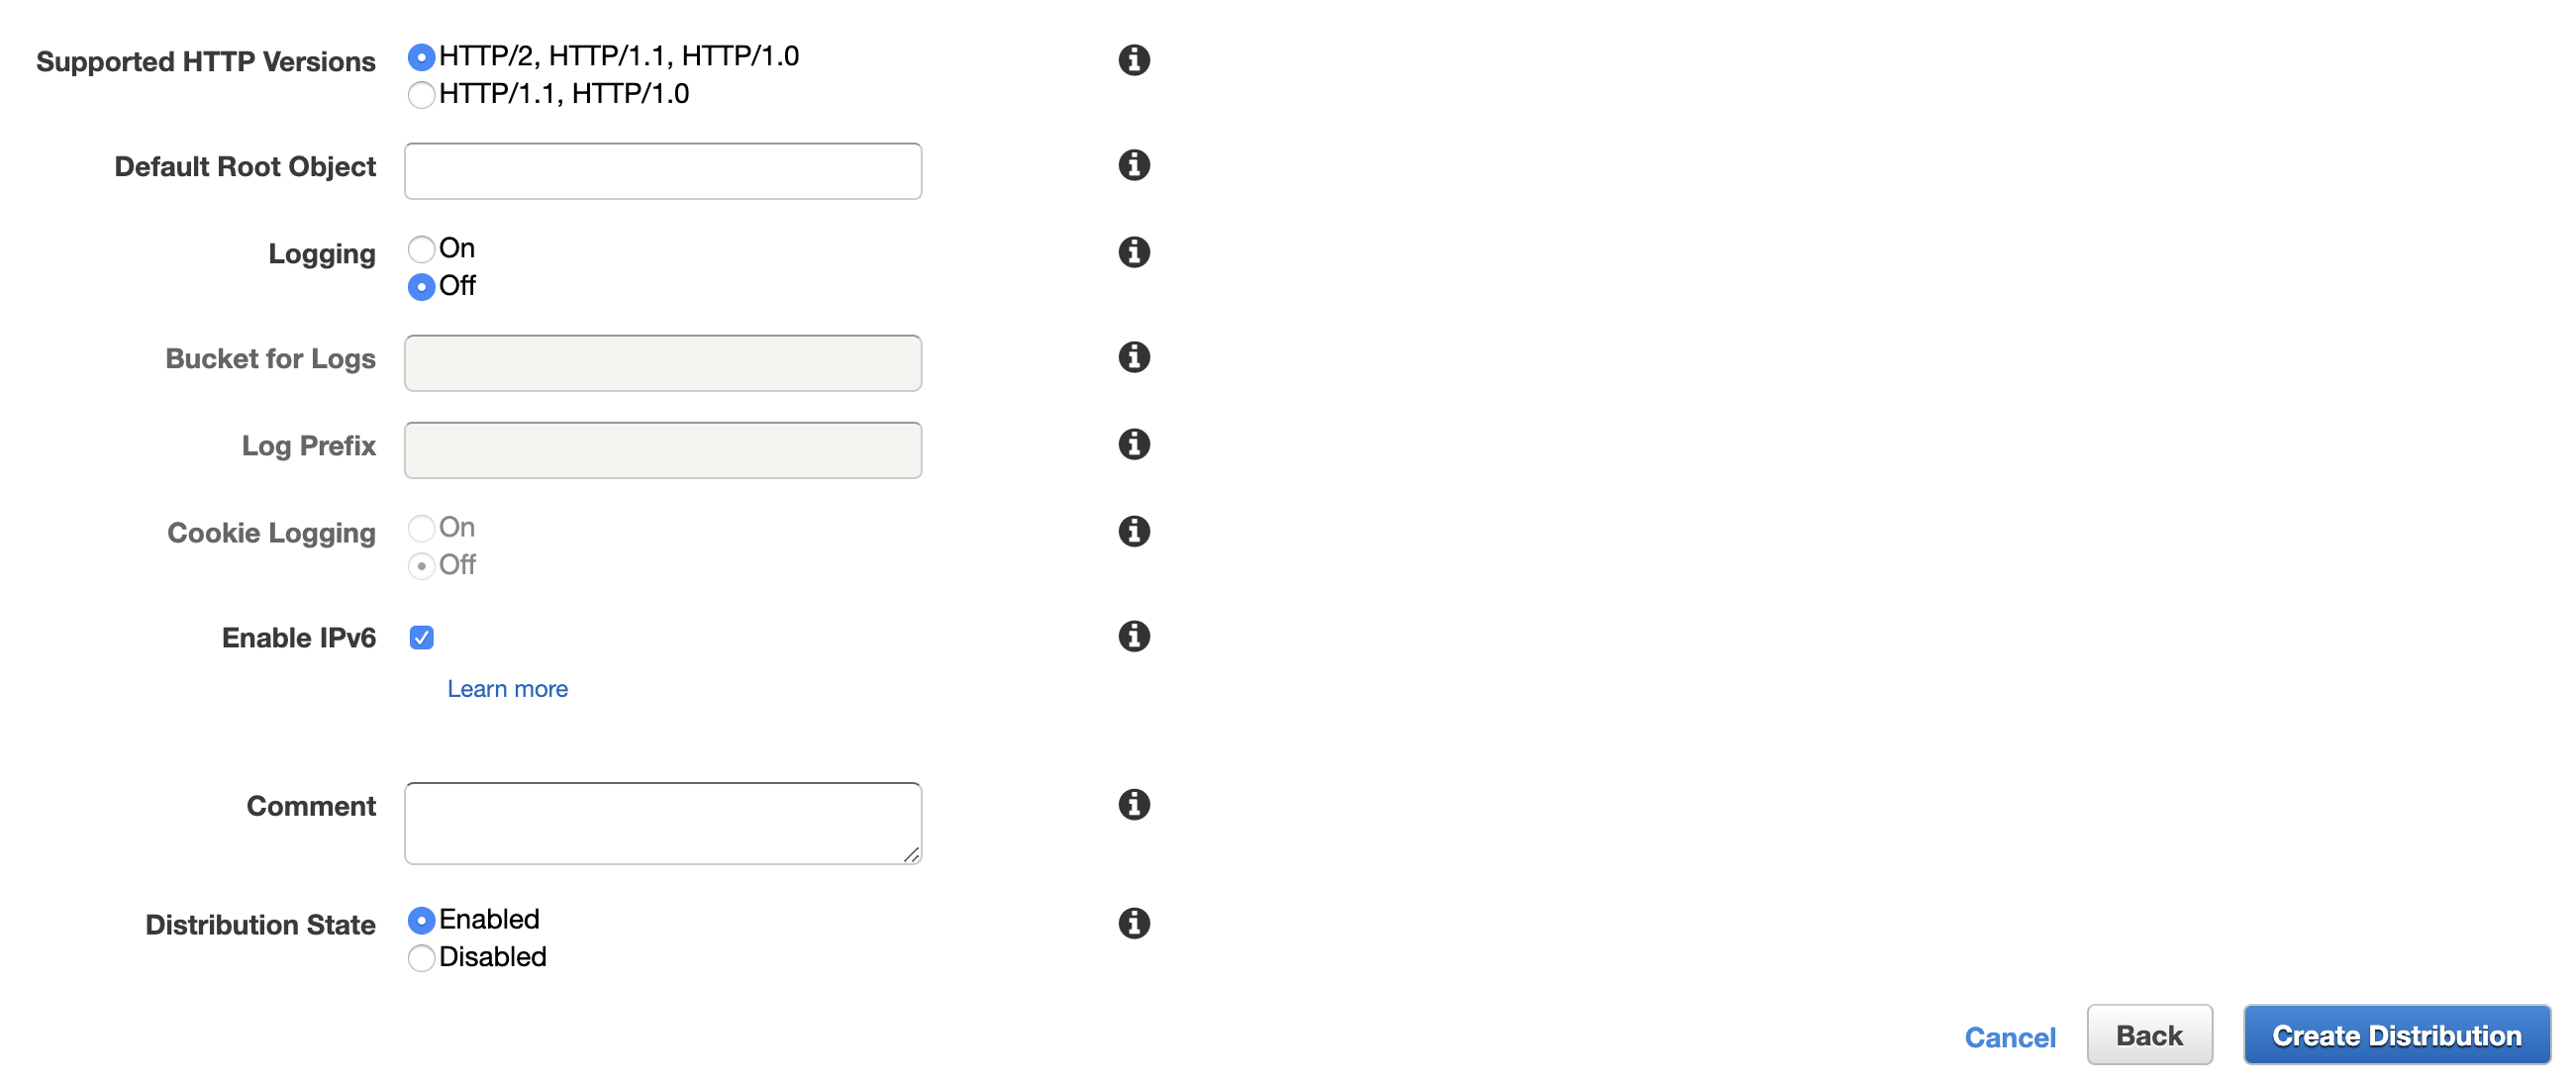
- Once your settings match the recommended settings above, hit
Create Distributionto continue. Your Cloudfront distribution will provision shortly…

… and it’ll give you an address to access objects over.
Now may be a good time to test S3/Cloudfront
Add a file (with Public read-access enabled) to the root of the S3 container directory and try accessing it through the new Cloudfront domain you provisioned:
https://{{my distribution hostname}}.cloudfront.net/test.file
Check to see that it loads. If so, nice job!
Next steps
Now you’re set up with hosting, you need a user with permission to publish to S3.
Next, create a publisher/user in Amazon IAM to publish your container into your environments.